Opening the Employee Pay Distribution Area, click More.
-
Open Employee Master Maintenance.
-
Click Pay Distribution in the Menu Tree.
Keyboard shortcut: [ALT + d]
Example: To see an example of the Pay Distribution window, click More.
Employee Master Maintenance - Employee Pay Distribution Area Example

Field Prompts: To see the prompts for maintaining the Pay Distribution Area, click More.
|
Employee Pay Distribution Area Prompts Tip: To see more information about a field, click the hyperlink for the field name. | |
|
(1 - 8) |
Enter the Department Number for the distribution. (8.0 numeric) Notes:
Tip: To see the search options on the shortcut menu, right-click in Department. |
|
(1-8) |
Enter the percent of hours and pay to be distributed to the associated Department Number. (3.2 numeric) Note: The sum of all of the percents in the list must equal 100.00%. |
|
Total Percent |
Displays the sum of all the percents in the list, which must equal 100.00% to complete the distribution. (3.2 numeric) |
|
|
To update the new or changed information, click Save, or press [ENTER]. Keyboard shortcut: [ALT + s] |
|
To avoid losing data, you must save new or changed Pay Distribution information. | |
|
|
To return to the main Employee Master Maintenance window, click Done. Keyboard shortcut: [ALT + d] |

 CAUTION
Removing Pay Distribution: To see how to remove the entire Pay Distribution list assigned to the employee, click More.
-
To display the record to be deleted, open the Employee Pay Distribution window.
-
Click File from the Menu Bar, and next click Delete.
Keyboard shortcut: [ALT] [f] [d] -
At the Delete Records prompt, click Proceed to delete the record, or click Cancel to escape from the delete routine.
Example: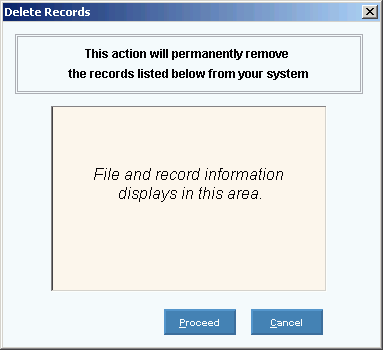
Note: After you click Proceed, you will see the following message on the Status Bar.