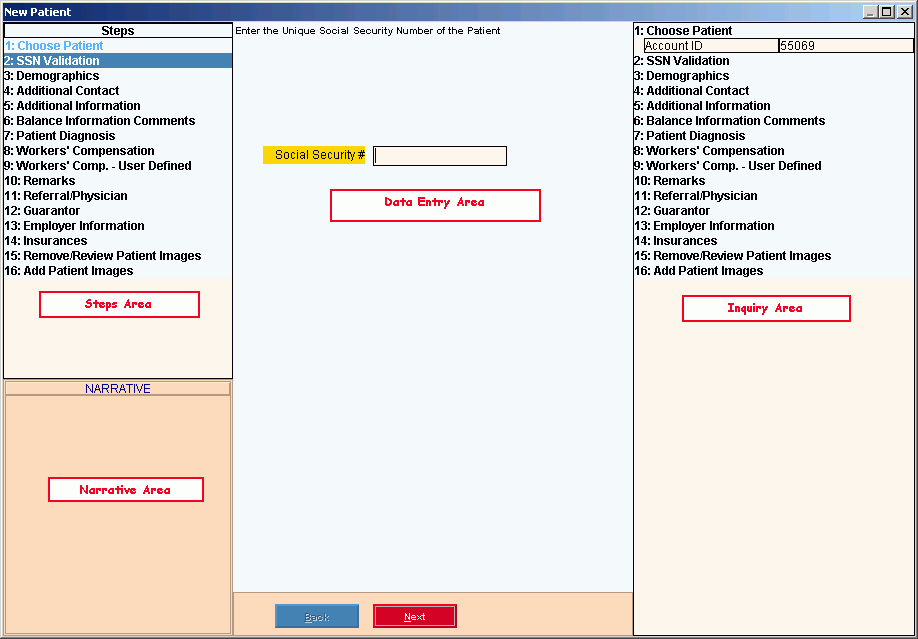
Opening the New Patient Wizard, click More.
-
Basic Method:
-
To display the Menu Tree, click Patient Entry
 on the Menu Bar.
 -
To clear the previous patient, press [CTRL + x].
-
In the Wizard Control Menu within the INSight Control Menu, click the plus sign (+) to open the Create level.
-
Click Patient.
-
Advanced Method:
-
To display the Menu Tree, click Patient Entry
 on the Menu Bar.
 -
To clear the previous patient, press [CTRL + x].
-
In the Patient Reference Panel enter blank or N(ew) in the Account Number field.
-
Click Patient Load
 , or
press [ENTER].
Tip: INSight automatically assigns the next available Patient Account Number and displays it in the Inquiry Area.
New Patient Wizard Example:
Tip:
To see
an explanation of an area, the cursor becomes a  hand
when you position the cursor over the area. Click
once to display the associated topic.

Creating a new Patient, click More.
 IMPORTANT: To
avoid losing data, the wizard automatically saves your data when you click
Finish
  .
.
-
Open the New Patient Wizard.
-
At the Choose Patient step, enter the Patient Account Number for the new policy holder or click the Assign Number
 button to automatically assign the next available
Account Number.
 -
To advance to the next step, simply press [ENTER].
Tip: For more information about moving around in the Wizard, see Wizard - Navigation. -
To position the pointer to the information that you want to enter, press [TAB] or click the field using the mouse.
-
Enter the data changes.
-
To finish entry and save the changes, click Finish
 , or press [ENTER]
if the button is in focus.
Keyboard shortcut: [ALT + s]
Editing an existing Patient, click More.
 Note: This
Wizard is only for creating new
patients. To
maintain existing patients, use
the Patient Wizard.
Deleting an existing Patient, click More.
 Note: To
preserve patient history, you are not allowed to delete patient records.
Understanding the field values for the following areas, click the section name in the table below: